2/17/2020

H2H Challenge| Say it with Flowers

It's time for a challenge! 

Each Monday, the design team from Heart 2 Heart Challenges shows off ideas and inspiration for you to link up your own artwork to their challenge page. This week your challenge is to say it with flowers. 


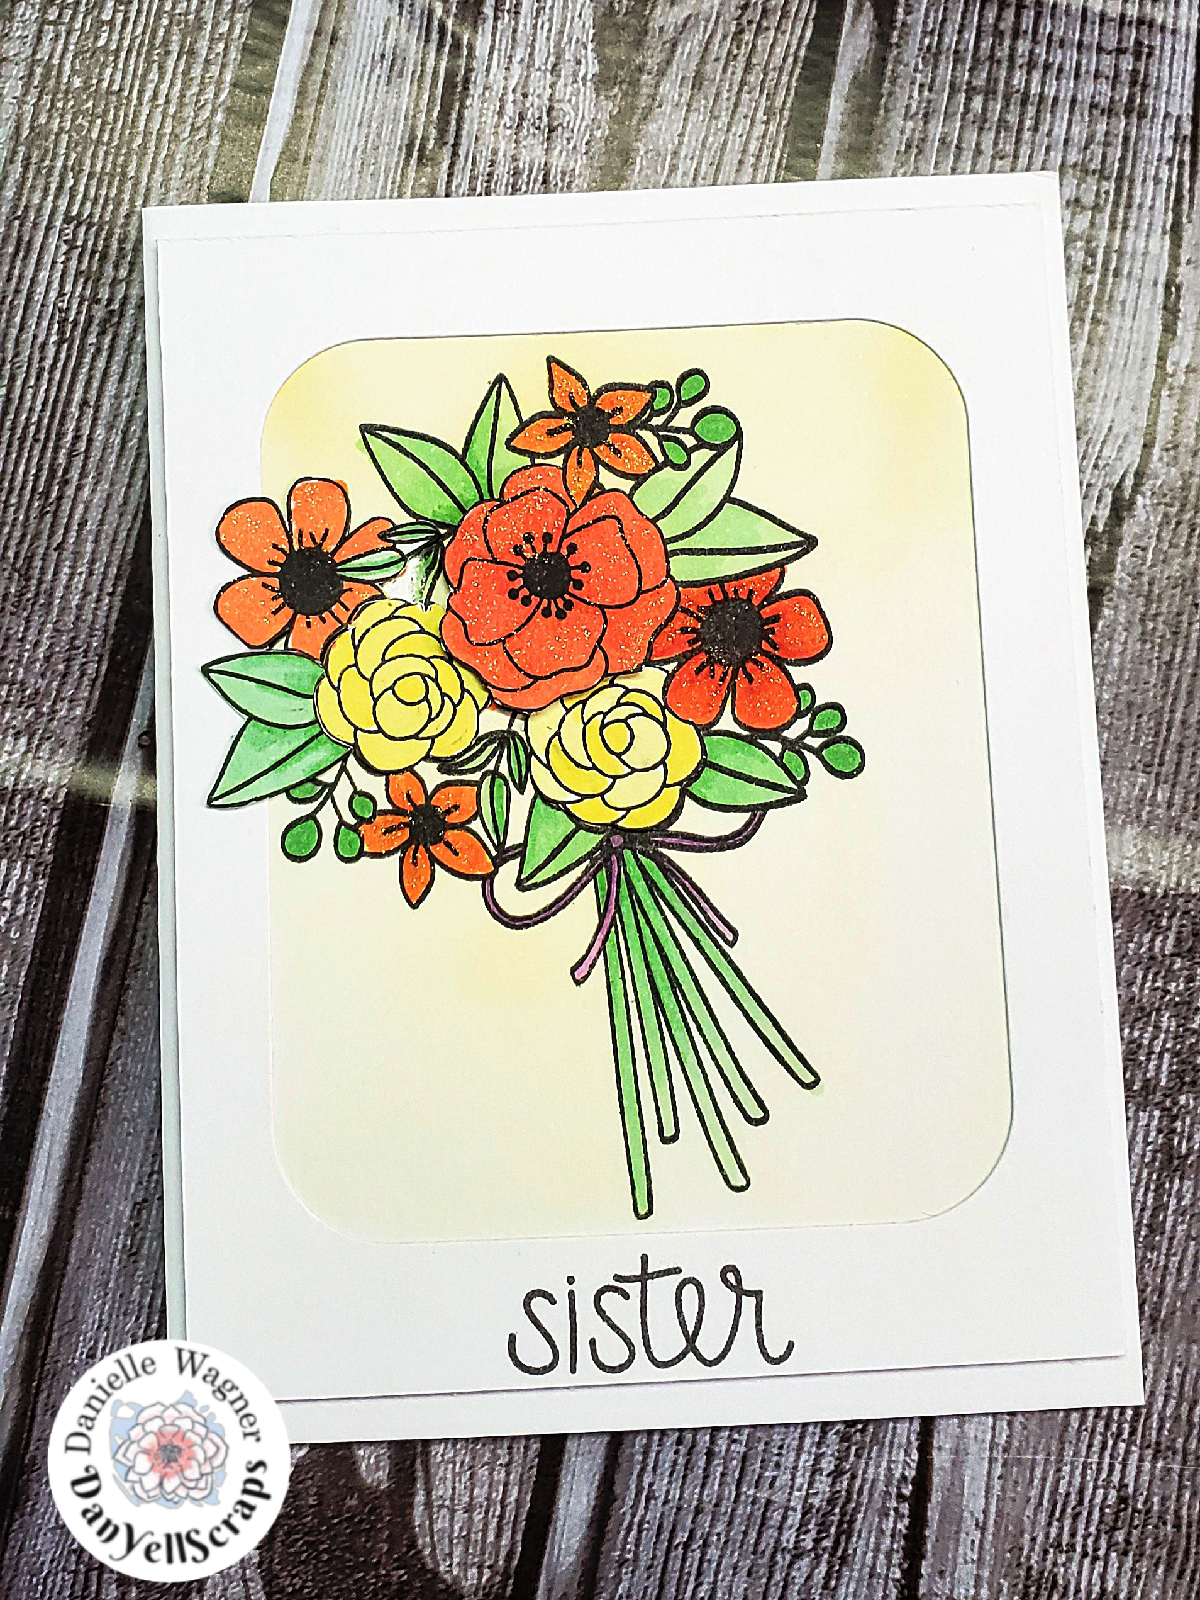
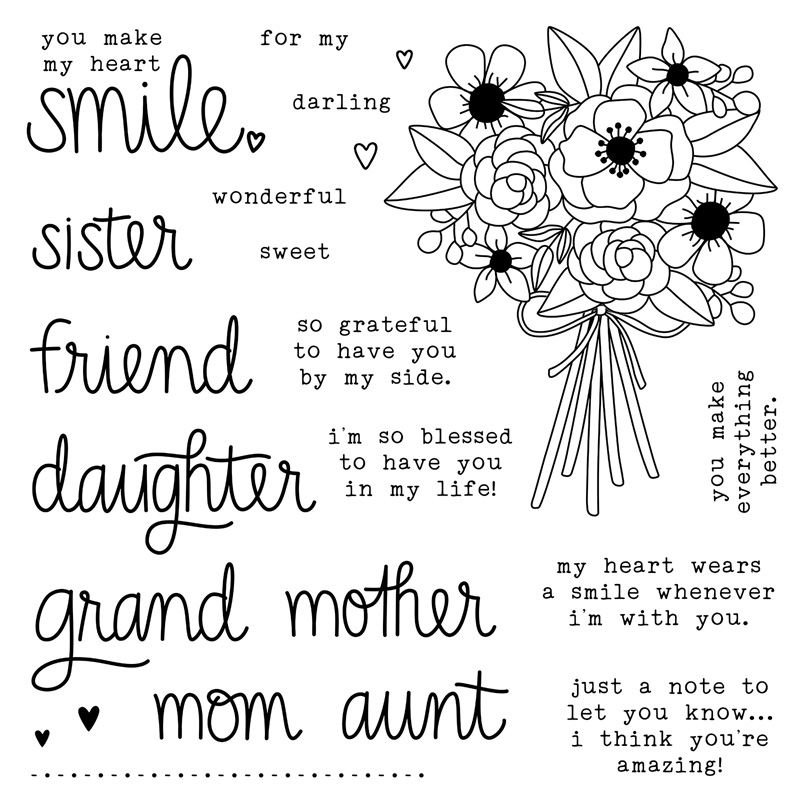
So the only rule to link up to challenges, is your artwork must have a CTMH item on it. I used the February stamp of the month, cherish her for my inspiration. Also think about using thin cuts or even your cricut to create a flower project. 


Link up up here, and good luck!

Danielle

2/12/2020

How mix-in papers can be your secret weapon.

Happy Wednesday! It's time for a new mini layout!

If you're new to my page, each week my crafty friend Michelle and I create a mini layout from the same sketch or inspiration page we've seen or like. 
This weeks layout comes from this Instagram post. Be sure to hop over to Michelle's blog to see her interpretation of this layout. 

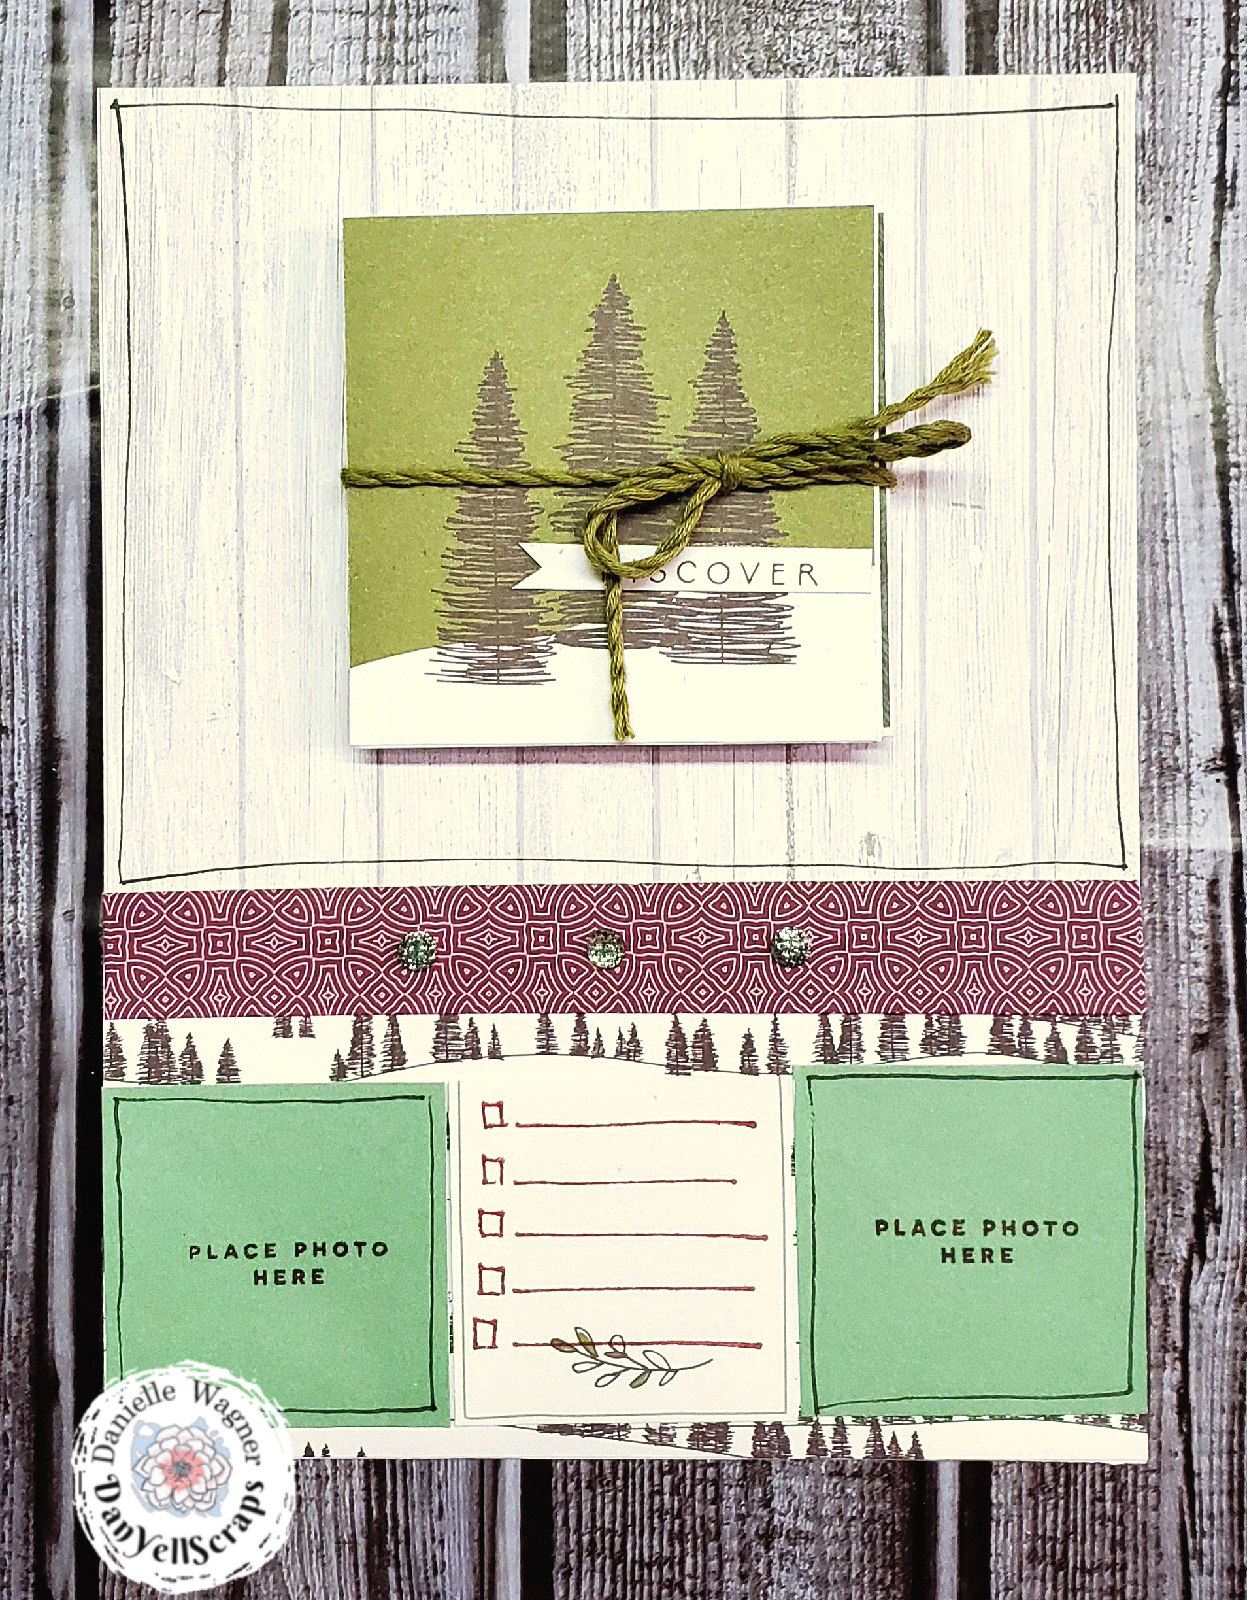
I have used the beautiful mix in paper collection from the January/February expressions book to recreate a simple, elegant, and easy layout. It's seriously my secret weapon to extending my paper packets and creating my quick and beautiful weekly projects!
I even have a quick video for you to see my process.


2/10/2020

March Scrapbooking Kit | Spruced Up

Pull out those winter vacation pictures, because I have a cute pre-cut just for you!
My March Spruced Up Kit is three 12x12 double layouts and one interactive 6x8 mini layout! This kit is perfect for scrapbooking at home or on the go at a crop! 
Each layout is individually packaged with colored pictures and detailed step by step instructions. 

  • The full kit includes:
  •  (6) 12x12 & (1) 6x8 white daisy base pages 
  • Full set of PML cards 
  • Full package of Julep Glitter Gems 
  • Full spool of silver embellishing thread, 
  • One packet of Spruced Up pattern paper pre-cut and sorted
  • One Spruced Coordinating Cardstock, precut and sorted
  • One precut and scored interactive picture folio mechanism
  • 24 inches of retired Fern extra thick twine for a closure. 
  • Pre-stamped & fussy cut images
  • Three custom cricut titles. 
Kits will ship March 10th 


Additional Supplies you'll need to use from your stash:


  • Scissors to dove tail
  • Adhesive
  • Pop up dots 
  • Glue dots


2/09/2020

You Make My Heart Smile!

Sunday is here and the week is about to start a new. We are nine days into February and with that come the new Stamp of The Month
To be honest, I wasn't sure how to use this stamp set. I must say, once I took a quick look through instagram from inspiration, I was off and running! Be sure to stop by my friend Michelle's Blog to see her beautiful card. 
This card came together so beautifully! The new Tri-blend markers color and blend so easily. I added a touch of Gold Shimmer to just the flowers, and three julep glitter gems. 


This side snap shot, shows off the coloring and glimmer really well! 


So what do you think? How will you use the February stamp of the month? Let me know below! 

Make sure you hope on over to Michelle's' blog to see her Sunday Card!

2/07/2020

Unicorn Magic

Happy FriYAY! 

Time for a new 3D project, and I am very excited to show you my creation this week. If you are visiting for the first time, welcome! If you are returning HEY Crafty Peep glad to have you  back! For those that are new, my crafty friend Michelle (her project is adorable) and I have challenged ourselves to create three times a week and blog about it. You can find ALL of our challenges here: 'Two Girls and Blog Challenge' . Don't forget you will also want to hop on over to Michelle's blog and check out her 3D creation this week. 


Almost a month ago, Close to My Heart posted on their blog a beautiful wall decor using images manipulated from the Flower Market Cricut cartridge. It was this beautiful unicorn design, you can read the full post here. What was special about this project, is Close To my Heart provided the unique design space link, where the images were already done for you. Listen - you can still do this without a cricut - because CTMH is amazing click here to download a PDF you can use to hand cut your own petals etc. 

Now, this link has the images sized to create a HUGE wall decor, the largest flower is 20 inches...We have textured walls and they are not friendly to have wall decor adhere to them. I decided to resize the images to fit a 10 x 13 space. While at a big box store, I found this wood sign, however it was weathered barn siding color (dark greys and browns), well unicorns are typically white, right! So to create a white wash look, I mixed an off white and white acrylic paint together, and sponged it to the board. Once dry, I sanded the board down and it was ready for my decor. 

My flowers, ears and foliage are cut from CTMH cardstock, the horn and centers to the flowers are cut from CTMH gold foil paper, the beautiful eyelashes and settiment are cut from CTMH Black glitter paper. 


Here is a side few, so you can see the shimmer from the Gold Foil paper and Black Glitter Paper.


Are you ready to make yours? If you have the Flower Market Cricut collection, all you have to do is click the cricut link at the top of this post, or the PDF to hand cut your own. Need the Flower Market Cricut collection? No worries, you can snag it from my official cricut affiliate link here

Don't be intimated by the flowers, here is a creat video tutorial by CTMH at Studio 5 

Links to Supplies Used: 

Cardstock
Specialty Paper

2/06/2020

Sketch it Out Wednesday

New  6x8 Layout! 


Wednesday has come and gone and I am a day late with my creation this week. I think you can forgive me, I was enjoying a much deserved, much needed Mom night out! Today's sketch doesn't come from pinterest, instagram or a book, I actually crafted this weeks sketch. I love adding these little card folio to my 12x12 pages, and thought how perfect it would be to have one on an 6x8 page. As always my friend Michelle has also used the same sketch to create a 6x8 layout, make sure you hop on over to her blog to see her creation. 


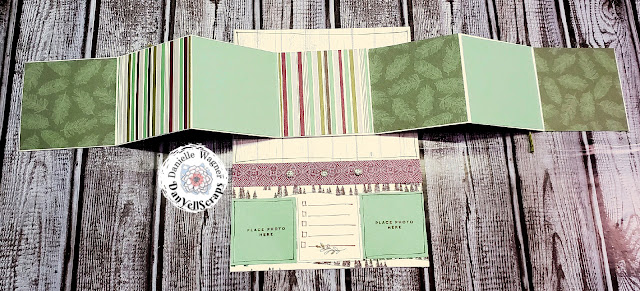
What I love about this is it holds 12 3x3 pictures, if you want you can replace the cover with a picture, giving you one additional photo. For my cover I cut a spruced up PML card down to 3x3 and used the sentiment from that card as my title. Using retired fern thick twine I tied up my card folio, really any of the CTMH ribbons will work for this. 


To create this cute folio, you will need two 3x12 pieces of cardstock scored at 3, 6, and 9. Adhere the two end pieces together, and crease the score lines both ways. Accordion fold the pieces closed. Adhere a ribbon to the back and then either 12 pictures or, as I have done, cut 12 pieces of pattern paper and a cover to 3x3 squares (actually I cut mine a sliver shorter than that on side to avoid the creases)


Here is my sketch I created - feel free to create your own and join along each week as Michelle and I create, play and blog! 

Supplies used: 


Thank you so much for stopping by!
Danielle

2/02/2020

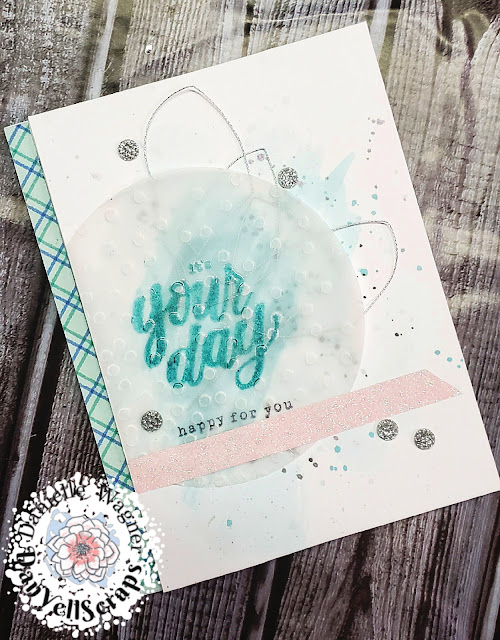
Sunday Funday| Watercolor Card


Watercoloring on regular cardstock!

If you have tried this, you know it can be a very tricky process, as the too much water and your paper warps, tears or your color washes out. If you don't add enough water it's like painting with mud, at least in my experience.  Join me and my crafty friend Michelle as we share our watercolor cards for this Sunday Funday post. 

I decided to use my water-based dye inks and waterbrush to create my watercolor background. How this works is by simply smooshing the ink from the pad into a non-absorbing surface. I used my All-purpose mat, which is a non-stick mat that easily wipes clean for use with most of my messy projects! [The all purpose mat allows for plenty of work area as it measures 20" × 15". A few perks are its non-slip underside and that it is heat resistant up to 240° F (115° C)] 

There are a few waterbrush styles to choose from, small, medium, in a round tip, or a flat medium tip, I prefer to use the medium round tip waterbrush.  Once the brush is filled with water, I squeeze the brush to push the water through the tip of the brush and drop into my ink. 

For this card I used Lagoon ink, and black ink, which Close To My Heart Exclusive Inks™ stamp pads are made with pH-neutral dye-based ink with an in-lid pad that ensures ink is always close to the surface. This pad also features a convenient magnetic closure so you can open your stamp pad with ease. Bonus you can refresh your stamp pad using Exclusive Inks™ re-inkers for continual vibrant stamping!!!! 

Now it is time to add the paint to the cardstock, the cardstock I used is White daisy and is NOT made to handle water well. That being said, there is a wide variety of high-quality 12" x 12" papers for all your crafting needs available. The colored cardstock has a white-core, is two-toned comes in 42 exclusive colors, kicker there are a variety of specialty papers, including glitter paper, kraft paper, and watercolor paper! What works for me when using regular cardstock to watercolor on is to work quickly , do not wet the paper first, and add watercolor in small batches and with my heat tool quickly move and dry it at the same time. 

For this card, I splattered darker shades of the Lagoon ink and Black ink once the watercoloring was dry. Once completely dry, the white daisy was cut to 4" by 5 1/2", and added foam tape to the back before adhering to my card base. 


Let's talk about the the stamping...The sentiments "it's your day" and " happy for you" come from the celebrate today cardmaking workshop kit. This kit includes all the materials and easy-to-follow instructions to create 16 standard size cards, 4 each of 4 designs. One of the best features of this kit is the Stamp + thincut set that is included. 
So this sentiment is embossed using - wait for it - Lagoon water-based dye ink on velum specialty paper.  Super easy first step is to ink your stamp in VersaMark™ Ink Pad, then into your water-based dye ink color, for me it was VersaMark ink then Lagoon water-based dye ink. Coat this in a CLEAR embossing powder and you have a beautifully embossed image in any color you want. 
How is this even possible? Because  the versamark is an archival watermark ink pad for heat embossing, it clings to your stamp and does not transfer to water-based dye ink pad...instead it picks up the ink from the pad, and when stamped on your project it lays on top of the colored ink, allowing the embossing powder to cling and be heat embossed! Make sure you are grabbing the VersaMark watermark inkpad and clear embossing powder, otherwise this will not work. 

Finishing touches, adhere some glue dots behind the sentiment on the velum paper, there I attached the silver embellishing thread.  This is a Metallic thread that come in 10 yards increments, its very fine to work with and while doable isn't the friendliest when it comes to creating bows, as it slips through its self, hence the mini glue dots!
A thin strip of patterned paper cut at 5 1/2" by 1/4" from the celebrate today packet, is found next to my watercolor piece. This paper collection is fun and comes with 6 sheets, 2 each of 3 double-sided designs; 12" × 12" plus ½" zip strip!!! 

At the bottom of the vellum circle, you can see a strip of Soft Pink Shimmer Trim, which is a favorite of my because it is adhesive-backed glitter trim; and comes in 5 yards, ⅜" wide. No card is complete without some Silver Glitter Gems.  

Thank you for stopping by, don't forget to head on over to Michelle's blog and see her watercolor card creation! 
Danielle