Stamping is great for a host of reasons, but it is even better when using quality stamps. That leads to me to 5 reasons why clear stamps are absolutely awesome.
1. Did you know that clear stamps can be used with all sorts of inks, including dye, pigment, solvent, and alcohol inks? This maximizes the use of your stamps!!!
2. Need to change your sentiment just a bit? I will cut it apart, and rearrange it on my clear block to fit exactly what I need to say. This does not change the way my stamp works at all!
3. If I have a banner shape or circle that i am looking to fit a sentiment on, i can take advantage of the flexibility of the clear stamps. Leaving me to manipulate the clear stamps to fit right inside my shape.
4. Ever stamp an image and the ink did not transfer or it just wasn't as vibrant as you imagined? Me too! I can stamp over the image again because clear stamps are clear, I can see exactly where i need to fill in the the missing ink, or enhancing the color!
5. I don't need a block for each stamp I own. Because there is a natural stickiness to clear stamps, I am able to stick them to a clear block, then remove when I am finished.
So there are are my top five reasons why I think clear stamps are awesome.
I purchase my clear stamps from Close to My Heart! Here is some helpful information about the clear stamps from Close to My Heart.
My Acrylix® stamp sets are premium-quality decorative stamps that offer crisp, precise stamping at a fraction of the cost of rubber. They’re easy to use, simple to store, and most importantly, offer creative control and artistic precision every time you use them.
If you're buying your first My Acrylix stamp sets, you’ll want to purchase the recommended My Acrylix clear blocks to go with them. Be sure to check out the My Acrylix Block Starter Kit (Y1501) featuring three of our most versatile block sizes.
What are your top five reasons? Do they differ from mine? Leave a comment below, and lets chat!
Thanks for stopping by!
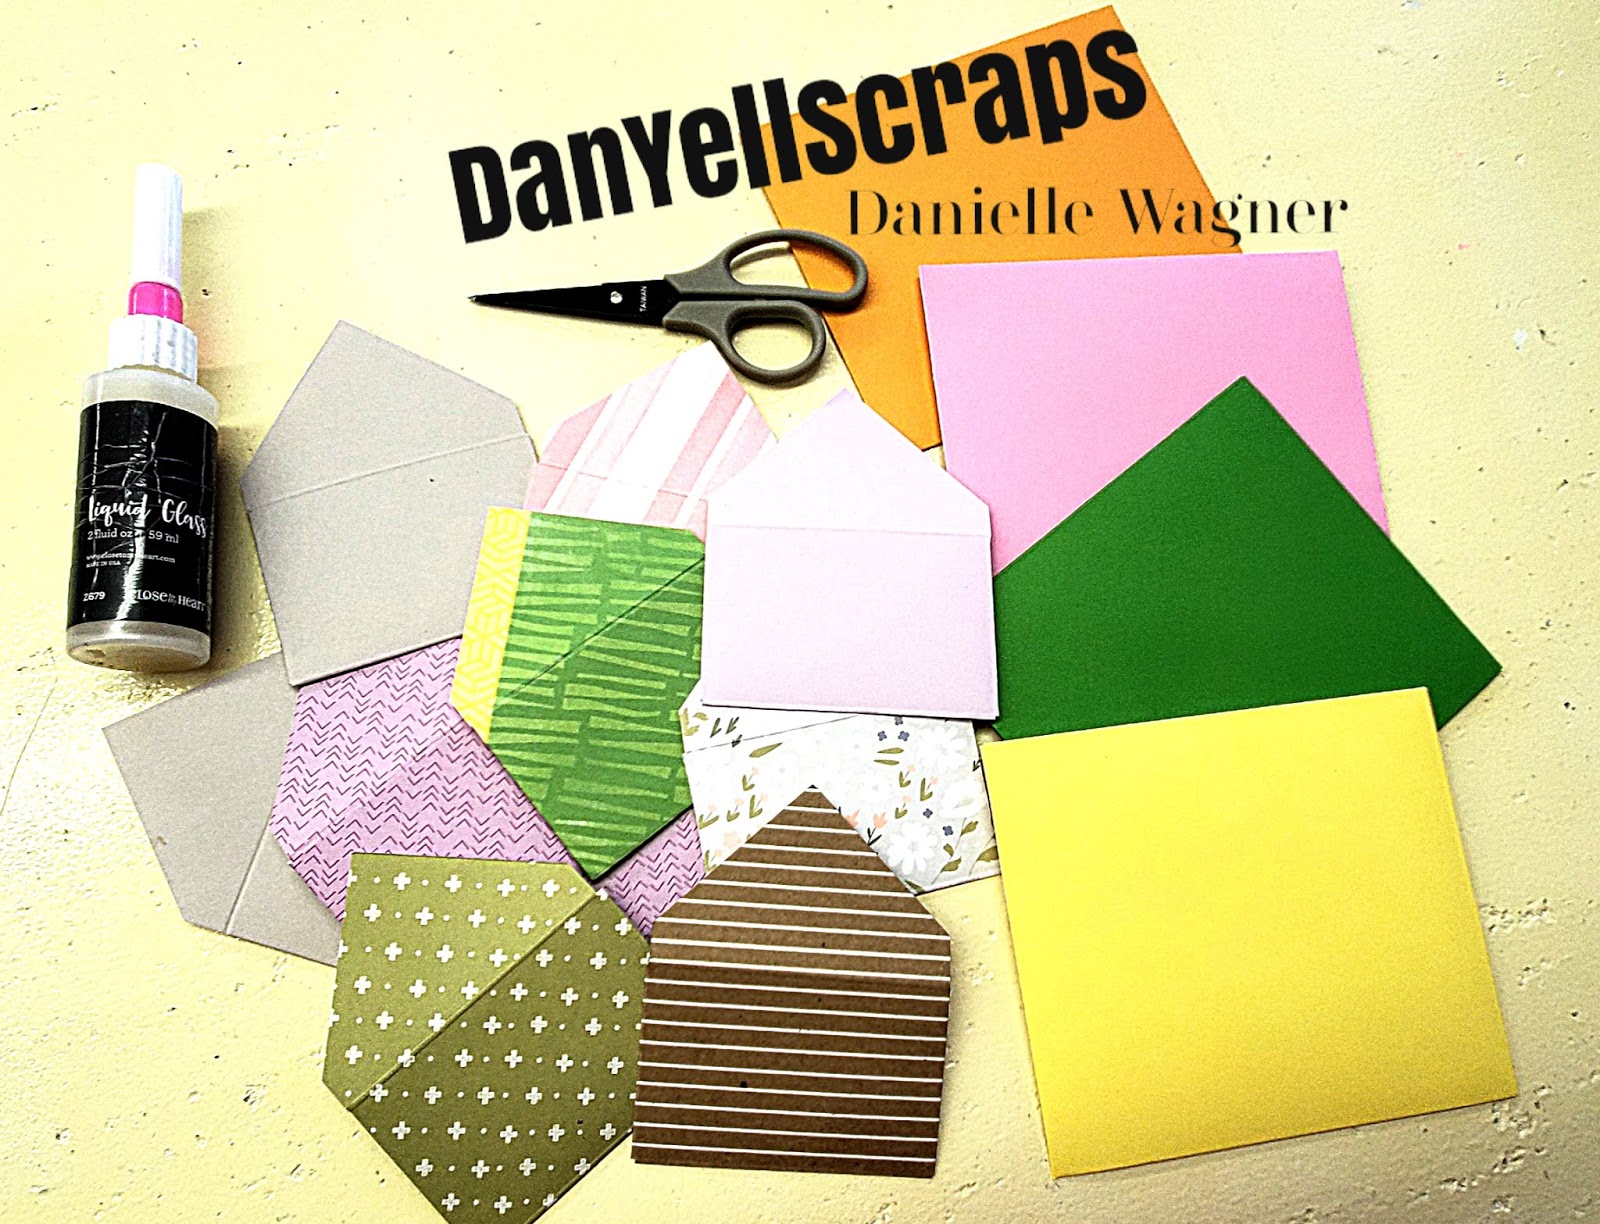
DanYellScraps