Simple, clean lines are my favorite kind of cards. They are easy to create and make card making in large batches fast. I created 24 cards using 2 basic card designs, altering them to create 6 different styles. Each style has 4 cards, giving me 24 finished cards.
Let's go through each card style and run down what was done to create that style. Finishing Touches on the cards are Outline the card, accent pieces and sentiment cardstock pieces with a Black Journaling Pen (.05) and loose sliver sequins adhered with clear Tombow mono adhesive.
Card 1:
A simple dove tail on the white daisy sentiment piece and clover accent piece give this card a splash of character. We could stamp the sentiment and be done, however adding a whimsical christmas tree in Glacier Ink adds depth to the 2D card. Next a quick outline of the star, colored in with the new Light Yellow TriBlend™ Marker by Spectrum Noir.
 |
| Holly Jolly Holiday - Card One (1) |
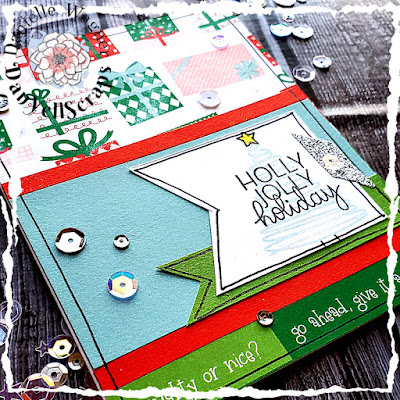 |
| Holly Jolly Holiday - Card One |
Card 2
Dove tail the white daisy sentiment and accent cardstock pieces (this is my favorite way to add character and detail to cards) the "Merry and Bright" sentiment is accented with a cute little Holly. Colored with the Dark Red TriBlend™ Marker and Light Green TriBlend™ Marker.
 |
| Merry and Bright - Card two (2) |
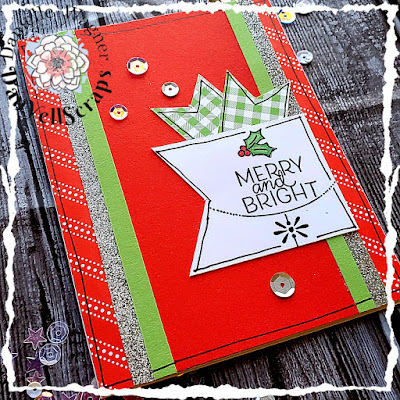 |
| Merry and Bright - Card Two |
Card 3:
The White daisy sentiment piece is dovetailed and stamped with a snowflake in glacier ink, topped with the sentiment "Joy" in intense black ink. I used intense black ink, so that when the clear shimmer pen was added, the ink didn't smear into the glacier snowflake. The Holly was colored with the Dark Red TriBlend™ Marker and Light Green TriBlend™ Marker.
 |
| Joy - Card Three (3) |
 |
| Joy - Card three |
Card 4
Tone on Tone stamping to create customer pattern paper, was my default technique. The card stock is clover, and because I couldn't find my clover ink, I used willow ink. Topped off these whimsical tree with some gold shimmer. The Sentiment "December 25" is stamped in intense black ink, and topped with clear shimmer. I stamped, colored and fussy cut the adorable Holly image. Bringing in that dovetail again with the pattern paper, and white daisy cardstock (It really a simple and quick thing to do)
 |
| December 25th - Card Four (4) |
 |
| December 25th - Card Four |
Card 5:
This stamp is a mini set, making it a great compliment to any Christmas stamp collection. Not much is needed to spruce this card up. A simple addition of 3D foam tape to the back of the sentiment piece after it was dovetailed.
 |
| Christ the Savior is Born - Card Five (5) |
 |
| Christ the Savior is Born - Card Five |
Card 6:
Holly Jolly Holiday the Santa image accent each other so well. Using theDark Red TriBlend™ Marker on Santa's hat and the holly I was able to create shadows and blend evenly having all three shades in one marker. To give his hat and beard some "color" the lightest color of the True Blue TriBlend™ Marker was added to the areas that a shadow may show. To lighten the blue up even more, the Blender Marker was used.
Santa was popped up with some 3D foam tape.
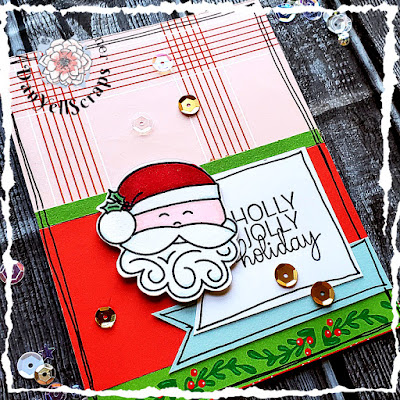 |
| Holly Jolly Holiday with Santa - Card Six (6) |
 |
| Holly Jolly Holiday with Santa Card Six |
Here is another look at all the cards together. I am very proud to send these out to our friends and family this year!
A full list of supplies used:
Paper:
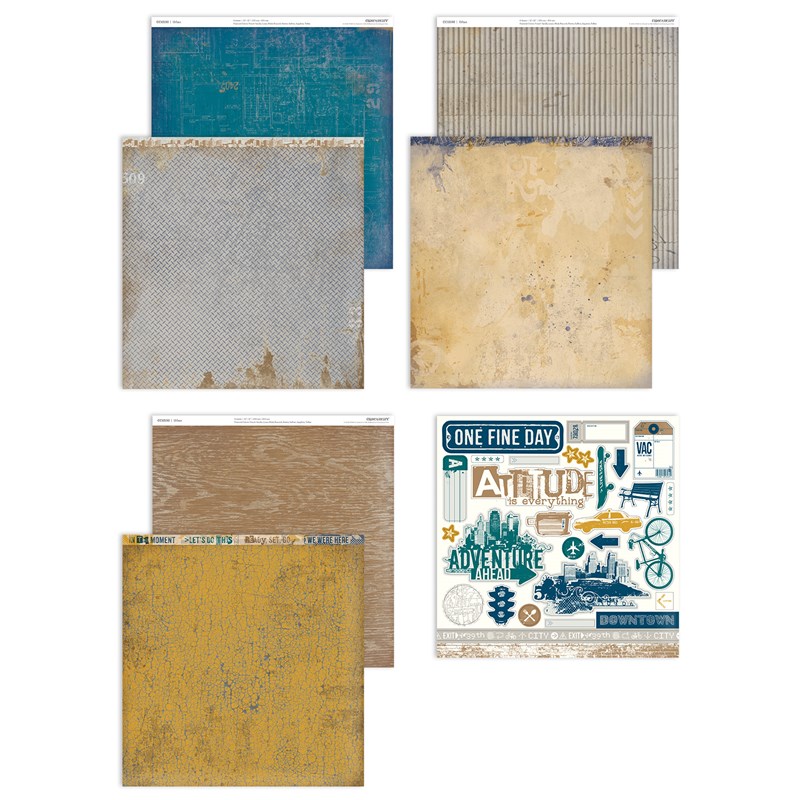
Holly Jolly Coordinating Cardstock X7250D $9.95
Holly Jolly Paper Packet X7250B $6.95
Inks & Coloring:
Embellishments
Silver Loose Sequins Z4304 $5.95
Gold Loose Sequins Z4235 $5.95
Silver Shimmer Trim Z1799 $5.50
Basics
Thanks for stopping by and checking out my 2019 Christmas Cards! I hope I have inspired you to be creative this holiday season.
DanYell