2/25/2017

Everything ABC's Blog Hop - Letter C


Welcome to the Everything ABC's Blog Hop!

For this hop we will be featuring the letter C.
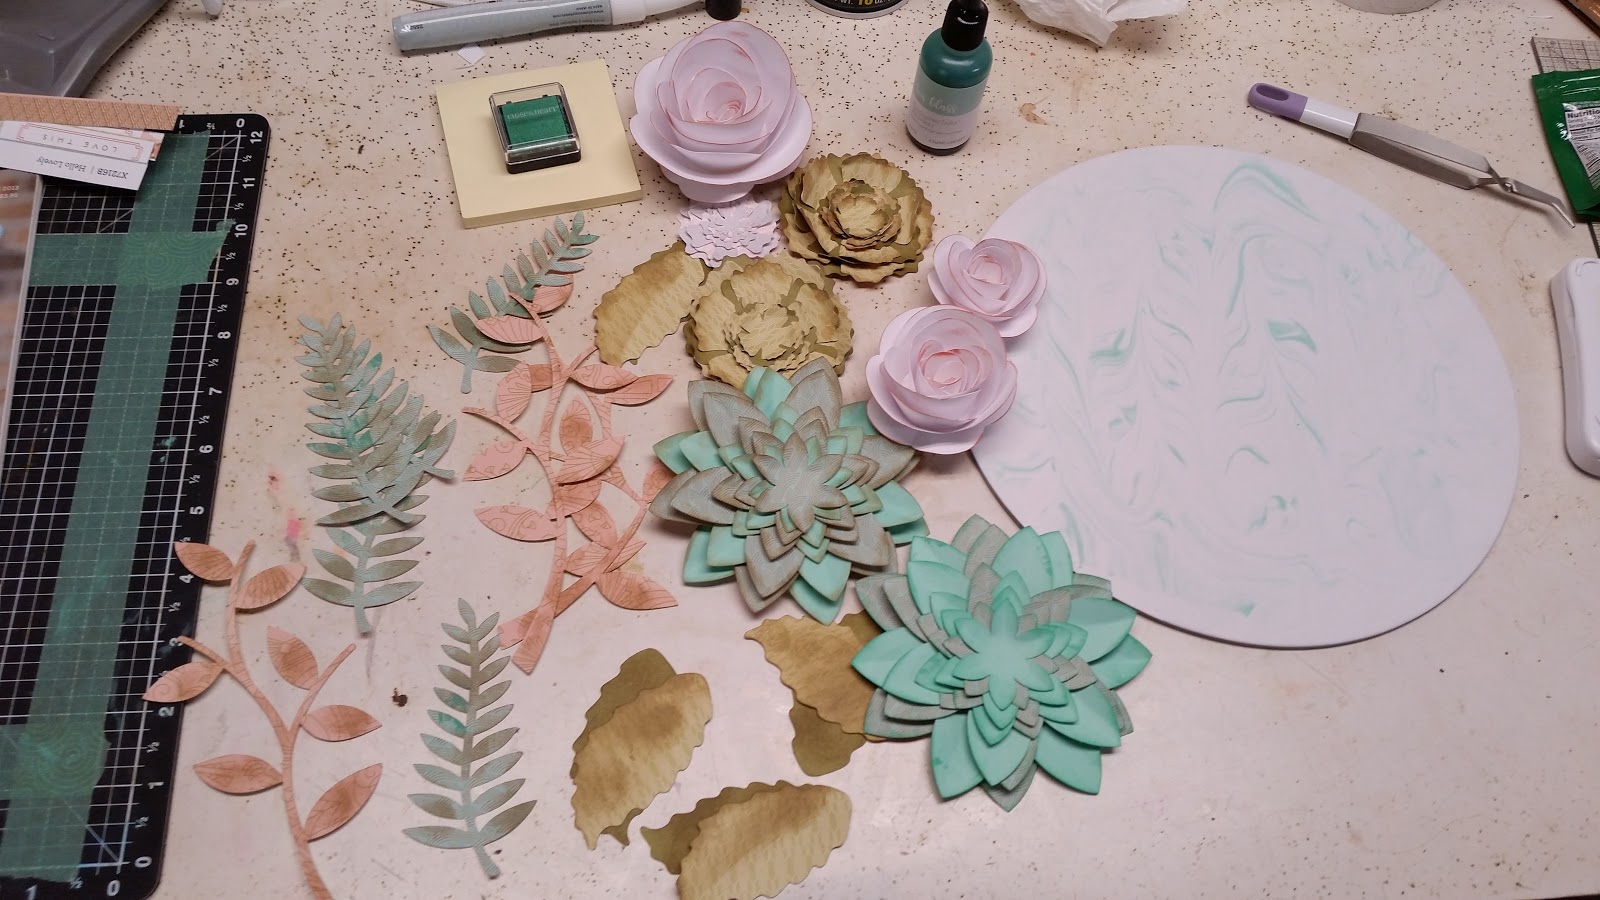
I am going to focus on Cards.

First up I have a patchwork or quilt Card. 


  • Using my left over scraps from the Hello Lovely paper collection, I cut various B&T and card-stock pieces down to 1.25 x 1.25 in. 
  • In a random fashion I adhered the squares to a base layer of 3.75 x 5. This base layer can be any color since it is cute to fit your squares exactly. 
  • Next I added some Whisper Twine, and added just a quick bow. To achieve the feathered look for my "bow", after I create the knot, I used a thumb tack to separate the fibers.
  • I added 4 stripes of 3D foam tape to the back of my base. 
  • I adhered this to a 4 x 5.25 Whisper Card-stock, framing in my patchwork.
  • Clear shimmer pen was used to highlight the Easter Basket and the flowers on the B&T square in the upper right. 
  • Taking the entire ensemble, I adhered this to a White Daisy Card  base. 


 Next I have a herringbone Card:


  • You will need zip strips from the B&T paper, card stock & B&T cut into random stripes, you can keep with the same same width for all your strips, or go random. I went random so I could use up what I had with out a lot of extra work.
  • I cover my base (4 x 5.25) with dry adhesive - tom bow, ATG Gun, I really like using my large Xyron machine for this project. 
  • The first strip should be about 8 in long (any shorter and this won't work) It should go from one corner to the next corner.
  • Pick a side, and a strip about half way, and it should extend from the middle strip and off your page.
  • Turning your base around do the same to the opposite side, only you want to off set it so you don't have an X, but still end up with 4 triangles. 
  • Pick a triangle and adhere your strips against the middle strip and aligned evenly with your side strip until your triangle is filled.
  • Move to the next triangle, adhering your strips in the opposite direction of your previous triangle. Repeat until all 4 triangles are filled. 
  • You can now add your sentiment, or in my case I added a beautiful flower sticker from the Hello Lovely compliment sheet with a small sentiment cut from the zip strips of the B&T paper. Smoothered in clear shimmer pen. :)

A list of supplies used to create these cute cards:
These are two of my favorite ways to make cards - for more details or a visual on the herringbone card, please check out my quick video below:


I really enjoyed making these cards, and I am so happy you stopped by to see my creations! Please leave a comment below, I love to read your feedback on my creations! 

Your next stop on our Everything ABC'S blog Hop is " Diana  " of " Farmer Di Stamps".

Here is a complete list of the participants:

Danielle Wagner of My Little Happy Scrappy Corner(You are Here)
Diana of Farmer Di Stamps
Darlys Recker Crafty Happy

2/16/2017

Hello Lovely Card Kit!

Spring Card Kit - Hello Lovely.


Spring Card Kit - Hello Lovely really is a LOVELY paper pack. I paired Hello Lovely with the Stamp of the Month "Easter Bunny" to create some very ADORABLE Spring cards. 

Oh, this reminds me-  when you place an order during the current Ideabook (January 1st - April 30th) Close to My Heart will send a FREE copy with your order! (just be sure to click the 'add to cart' button near the bottom of your order screen)!  

Let's have a look at these ADORABLE Hello Lovely Cards!


This card kit will create 10 cards, 5 of each design! 


Spring Card Kit - Hello Lovely! (5) each of these 2 designs....includes; (10) Card Bases & envelopes Pre-cut Cardstock/Patterned Papers, Gold Adhesive backed Sparkles, and pre-cut glacier twine! This workshop will create 10 simple - easy to assemble - Very Lovely, super Fun Spring Cards! 
Each kit is $12, kits by mail are an additional $6 for shipping and will be pre-stamped and colored! 

I'm taking orders now for the Kits! You can contact me HERE via Email or HERE via Facebook! :) 

Additionally, any order of $50 placed on my website { HERE } will qualify you, not only to receive the $5 discounted February Stamp of the Month Set, it will also qualify you to receive one of my Spring Card Kits FREE! Simply place your order using the 'Love to Scrap' Gathering tab on my website, and I'll get it on it's way to your doorstep! :)  

Thanks for Stopping By!

Danielle


2/15/2017

JCB Blog Hop Hello Lovely

JCB Blog Hop Hello Lovely
Welcome to the JCB Monthly Blog Hop!
This Month we are focusing on Hello Lovely. There are 2 in this hop.
I am so excited to share with you my spin off project from the Welcome home kit!
From the center of the wreath kit, you were left with this nice chip board circle. I decided to make a cute little wall hanging from Scrap Happy Craft Cave. (Haha my space is in our lovely unfinished basement hence cave)
CTMH has re-inkers, (
and can you believe I have never, ever, I mean ever played with or owned re-inkers...)so I ordered some spray pens, and some Sea Glass (you know the color of the year) re-inker from CTMH. I thought "Oh I am going to go all shabby chic on this center circle". Then I happen to come across a friends blog post where she posted a video on her YouTube chanel about the old but new to her shaving cream method. I am sure it has some crafty technical name, but we will go with shaving cream method...haha. (Guess I will try the spray pens later...) So I absolutely loved the marble effect of this technique! I am thinking this would look awesome using multiple colors.

Step by Step Guide for the shaving cream method 
  1. Cut tin foil slightly larger than the surface of your project 
  2. Apply a generous amount of shaving cream to your foil area
  3. Spread out your shaving cream so it is smooth, like you would lather it up when actually shaving.
  4. Apply random drops of your favorite re-inker all over the shaving cream
  5. Using a the end of a paint brush (or like style object) swirl the re-inker in the shaving cream.
  6. Lay your project over the shaving cream re-inker swirls - and pull up at an angle. 
  7. Using a ruler, scrap away the extra shaving cream. You can use a paper towel wipe away extra.
  8. You are left with the beautiful marble effect. 

Using the hello lovely paper packet, and my Cricut cartridge Art Philosophy (now retired). I created my flowers and succulents.


Here is my finished wall decor.

I hope I have inspired you to think outside of the box and create something for yourself!
Thank you for stopping by! Your next stop is Yvonne Enea.

Have a HAPPY SCRAPPY DAY! DanYellScraps
P.S. - Next Month - Follow along to see what we have in store for JCB Blog Dreamin Big