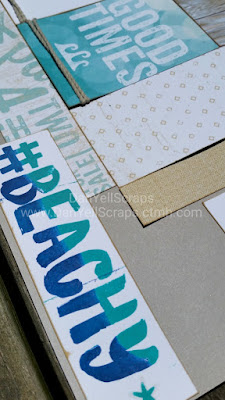
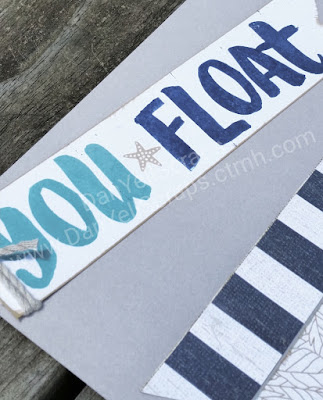
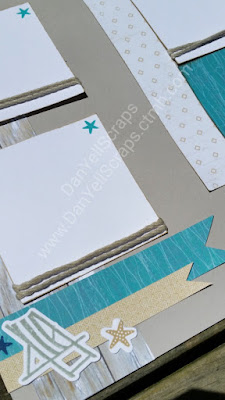
I have taken the No Worries Paper Pack (which is perfect for summer) and turned it into some really adorable pages. This paper reminded me so much of my youth at the lake each summer.
Can I just say - this took what felt like forever...but it was soooo worth it. I love each and every layout, maybe it is theGgold Glitter cardstock that gives me that sandy beach feel. Or perhaps the versatile Alphabet Marker Stamp set! I love how it gave this beachy paper a finishing touch, especially with that Ombre effect...okay so lets take a closer look at these 16 pages...


Details - How do you get your very own DanYellScraps Cutting guides...I will send the files and cutting guide via email to my customers ordering the workshop supplies (the supply list is noted below - or purchase $25 products of your choice) from my CTMH Shopping Website
OR you can now purchase just the PDF cutting guides via this paypal link:
I am really proud of my workshop files! I worked on these days on end and I am so excited to share them with you...
The entire set of files include;
- Welcome Sheet
- Color Cutting Guide
- Tips & Tricks Page
- Detailed Color Photos of Each of the (16) Scrapbook pages for assembly assistance.
Fellow Close to My Heart Consultants are also welcome to order these files to use in support of their own business! Yes, this means you can copy/print/distribute these files to your own customers and hold your own events using my designs and files!
Close to My Heart Consultants may place any order of $15 on my CTMH Shopping Website to qualify to receive the files for FREE!
Close to My Heart Consultants may place any order of $15 on my CTMH Shopping Website to qualify to receive the files for FREE!
Each Full ‘No Worries’ Workshop Kit will require the following products:
- No Worries Paper Packet X7220B $9.95
- (16) pieces of Mink Cardstock (24 sheet pack $14.50) #X5947
- (6) pieces of White Daisy Cardstock (24 sheet bulk pack $9.50) #1385 (1 or 2 if you are NOT using photo holders, as this will be used for your fussy cutting and Titles)
- Whisper Thick Twine Z3095 $3.95
- 1 Sheet of Gold Glitter cardstock (pack of 3) $5.95
Additional Supplies used:
- No Worries - Cardmaking Stamp Set C1679 $13.95 (No Worries Compliments can be used instead)
- Marker Alphabet stamp set E1034 $29.95
- Exclusive inks - Cashmere (Z2875), Lagoon (Z2895) & Sapphire (Z2848) $7.95 ea
- Micro-tip Scissors #Z534 $9.95
- 3-D Foam Tape #Z1151 $5.95 and other adhesive of choice
- 2x2 Acrylic Block Y1003 $6.95
- 3X3 Acrylic Block Y1006 $9.95
Also Remember, joining my CTMH Team gets you unlimited access to my complete files library FOR FREE! I will go to GREAT LENGTHS to serve my team by offering pre-designed works and custom cutting guides to help support their own businesses!
Use the Above shopping list and visit --> DanYellScraps to purchase your supplies. Once your order has been confirmed, I will email you the cutting guides and files.
**UPDATED** Here is a quick Video showing you how I made the titles through out this workshop...enjoy
THANK YOU for your support from the bottom of my heart.
Danielle


