5/18/2017

Sincere Thanks Workshop Kit

I've had SOOOOO many requests for a pre-cut card kit....So, it's my pleasure to introduce this Cute little kit! These kits are Completely Pre-Cut (I have even include the ribbons for you) and for your convenience I have STAMPED them, so you can assemble and mail!!! 


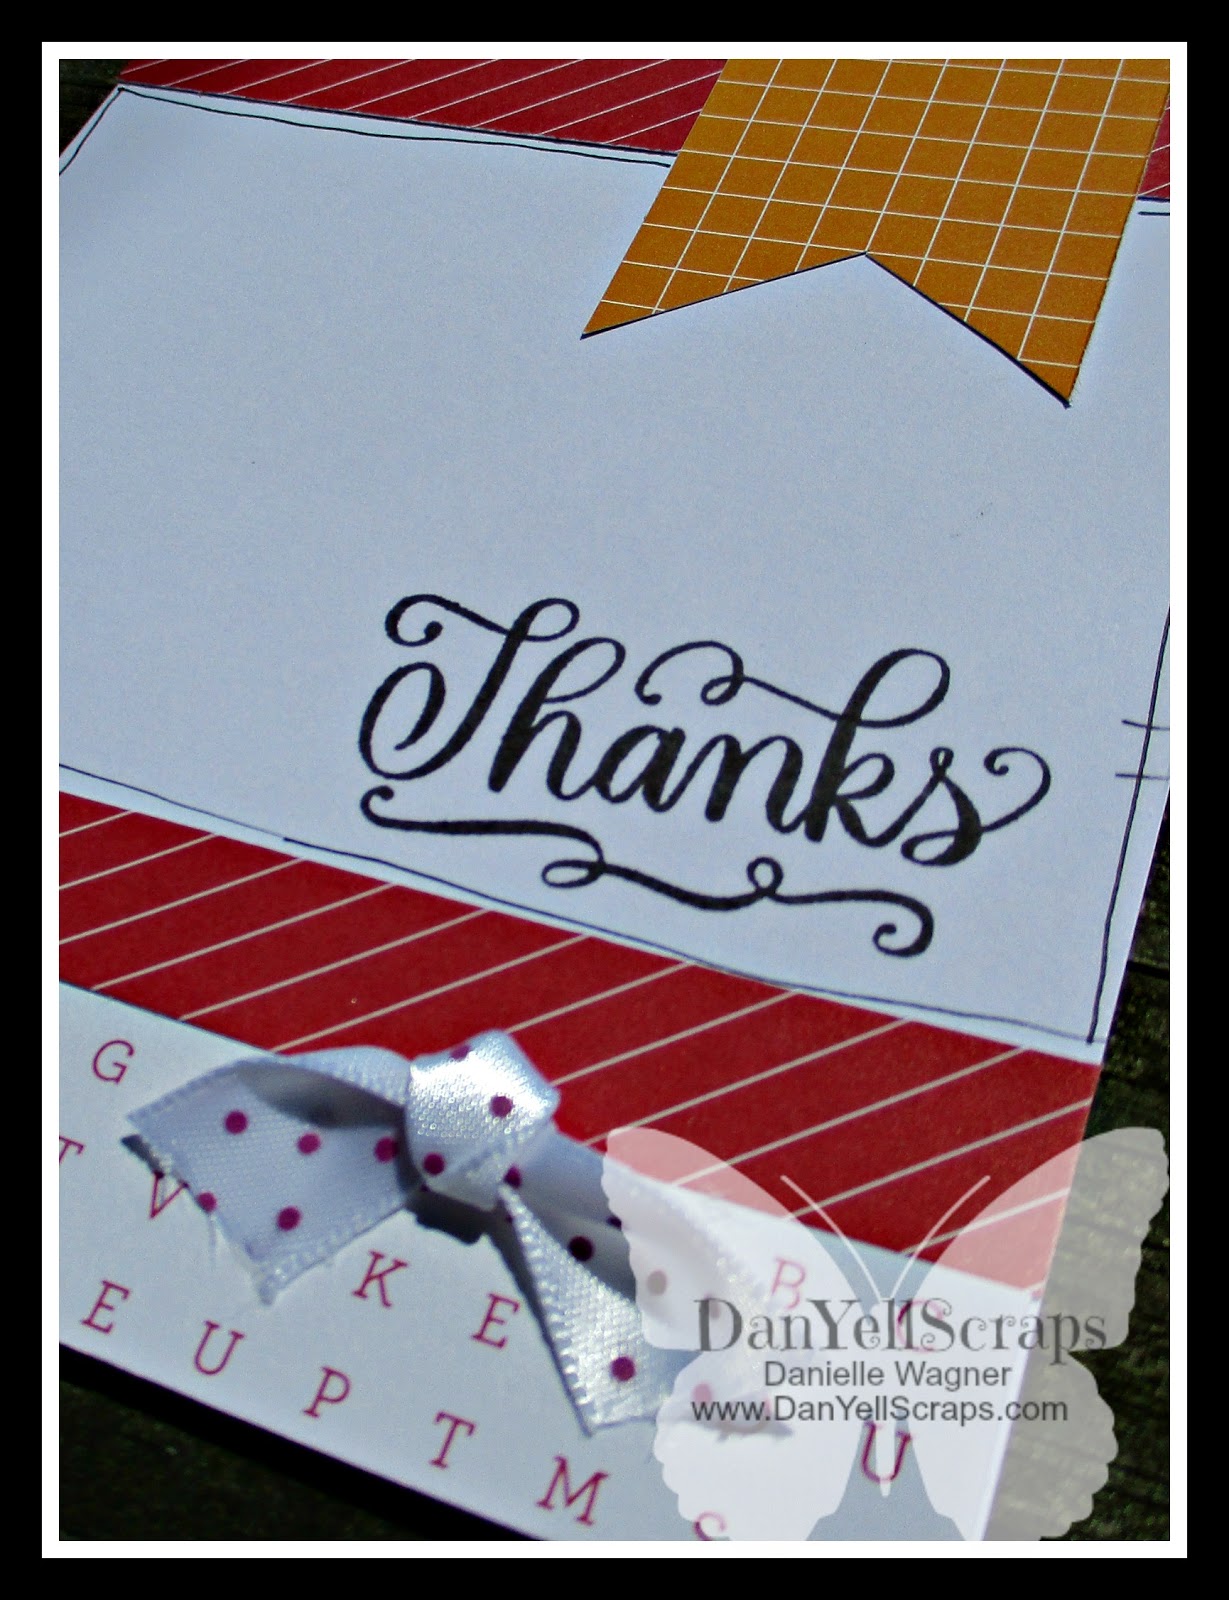
I used one of my FAVORITE Thank you Stamp set for these cards, Each kit comes packed in a Clear zip top bag with a sheet of the photographed cards for assembly assistance! I think these cards turned out Super Cute and I feel they are extremely versatile for many occasions that need a "THANK YOU"! 


Enjoy them to create/give yourself or gift a kit to give to a friend, either way they are an affordable way of brightening someone's day! 

Each Kit includes; (8) Card Bases and Envelopes, Pre-Cut/stamped Cardstock and Patterned Papers, Ribbon in Green, Purple polka-dot, pink and yellow twine. Each kit includes enough product to create (8) cards! (1 each of the 8 designs shown) *Feel free to flip the papers over to use your choices of patterns! 

Each Kit is $10 plus US First Class Shipping! I have only created a handful of these kits and they will go fast so don't delay with your order! 

You are welcome to purchase right here, just follow the link! And Be sure to check out my other kits in the left sidebar of my blog! BUY HERE

**I am unable to create a system that automatically combines shipping charges on multiple purchases but if a multiple purchase is made I will be happy to refund any shipping overage back to your paypal account. :) 


Thank you for joining me today!

5/13/2017

#100 Day Project - Weekly Update

Weekly Update - Day 26 through Day 39

Welcome back! Lets jump right in where we left off last week, with Day 26.


DAY 26 - Wet Embossed Look as a Card 
Here are 3 cards from Day 25's tip, on wet embossing


These took no time at all, and add tons of character!  I challenge you to try something new today! 

Day 27
Let's Jump on to a Scrapbook Layout - The Huge Cut Above Kit "Little One" Featured in April was a HUGE Hit - Using my Cricut, I changed the title from little one to, 'Love You Beary Much'... my workshop guests LOVED this...guess what the little one title can be utilized on a card!!! - If you missed out on this kit - I have just a few left in Stock and you can purchase one here -> "Little One Kit" This includes the Love You Beary Much Title.


Day 28

Two ADORABLE cards to show off. 

"Always be yourself, unless you can be a unicorn, then always be a unicorn"

"Have a magical day"


These two cards were created with the "little dreamer card making stamp + thin cut bundle" and the "little dreamer paper"...which is brand new! 

I challenge you to create a simple card! Back to basics! 

Day 29
Lets look at these cute cards! Embossing to the next level! 

Two Tone Embossing - or what i have been calling it. I went on a roll with this technique....I created a YouTube video showing you exactly how i created these cards you can watch that here ---> DanYellScraps Tutorials


One, Two, Skip a Few - Day 35
Shaker card with faux watercolor embossed background - exclusive inks rubbed on the inside of an embossing card, with the inks overlapping to avoid harsh lines. Two Circle dies cut at the same time, to create a white border for the shaker window. unicorn suspended on clear fishing wire, to give the floating appearance a real feel. :) I challenge you to get creative.


Day 36
Embossed look without an embossing folder!
To achieve this look - I die cut 20 hearts from the Hearts Thin Cut Set. This ahs to be my favorite Set, because you actually get two hearts from each cut - you get an outline heart - then you also get the negative space heart. 

I ran each heart outline through my xyron sticker maker
I adhered all of the hearts in a random, but planned fashion. I knew I wanted the edge hearts to "fall off the edge".

I flipped my base over, and cut off the overlay! 


Here is the final result, with a raised banner stamped in the "thanks form the bottom of my heart" from the happy heart stamp set.


DAY37

Using Negative space from Die cuts (FRUGAL RIGHT!!!)

While the technique is the same as Day 36 - the result is completely different. Remember don't throw away those negative images when Die Cutting. Save them, because they can be used in your next creative project! 


Day 38

Double embossing - To be honest, i didn't really care for the results from this technique. 

You emboss your cardstock, then you will put the card stock back in the folder facing the opposite side you originally embossed on and off centered. This works really well with large background images such as trees.- That being said - I found a way to use these for Day 39 - so stay tuned. 


Day 39

Sunburst Card using double embossed cardstock....Rubbing three yellow inks over these double embossed images - i was able to "save" this technique from my trash can.
Super simple card - with lots of character. 


What would you create from a double embossed image?!?!

Thanks for stopping - see you next week for some more tips, techniques, and projects.

Danielle - DanYellScraps


5/09/2017

Two Tone Embossing

The 100 Day Projects have really inspired me to reach out of the square box and try new things!

OH. MY. GOODNESS. I am so excite to share with you two tone embossing with inks. I seriously can not get enough of this technique....Here is what I have created thus far.


The final card in my collection was created by using several inks to create a rainbow effect directly to the embossing folder. I opted to leave the raised image white - since it gives off the right amount of contrast...however my next one, i may take it a step further by applying darker shades to the raised image....my wheels are spinning. 


I created a quick video to give you an idea of how I created these cards...Enjoy!

To order your embossing folders, inks or embellishments used in this post visit www.DanYellScraps.CTMH.com

Have a Happy Crafty Scrappy DAY!

Danielle